With more than 20 years of practical experience in renovating, repairing, and enhancing residences, Lee has been offering home improvement guidance for many years.
Project Summary
- Duration: 30 minutes to 1 hour
- Proficiency Level: Novice
- Projected Expense: Ranging from $15 to $100 (for hardware exclusively)
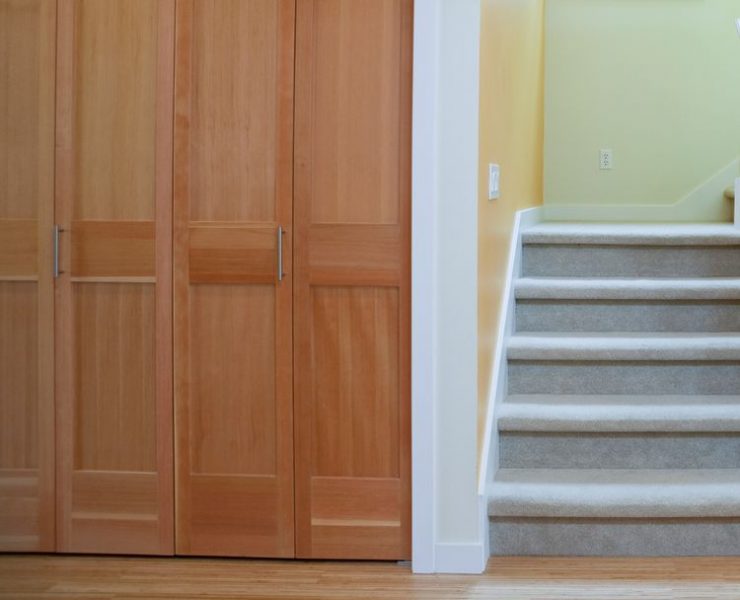
Bi-fold doors have been a popular choice for residential spaces due to their lightweight nature, affordability, and the fact that a single person can usually handle the installation. Although they aren’t intended for privacy or security, they effectively serve a fundamental purpose: concealing areas that you might want to keep out of sight, like laundry spaces, pantries, closets, and various storage areas. For smaller closet openings in confined areas, a two-panel bi-fold door can be a practical alternative to a traditional swinging door. Discover a straightforward guide to installing bi-fold doors from beginning to end with these simple steps.
Contents
What is a bi-fold door?
A bi-fold door consists of two or more hinged sections that operate similarly to an accordion, folding back on tracks to one side of the door frame. These doors can feature various designs, including solid, paneled, or louvered styles. Unlike traditional doors, they do not swing open or closed.
Prior to Starting
If the door frame is not square or level, it is important to address this problem prior to door installation to ensure they function correctly.
Kits
Typically, bi-fold doors are equipped with hardware kits for installation. A bi-fold door package often includes knobs or pulls along with the necessary hardware. If you possess an existing door set or are looking to fix an old bi-fold door, you can purchase a hardware kit separately. To ensure you select the appropriate door and hardware kit, measure the width and height of the door frame.
A typical hardware kit for bi-fold doors consists of:
- A door rail equipped with installation screws, a spring-activated stopper, and a pivoting guide.
- A support bracket for the lower section of the door.
- A sturdy pivot pin designed for the upper part of the door on the non-opening side.
- A roller pin equipped with a nylon wheel, designed for the upper part of the door on the side that swings open.
- A customizable pivot pin designed to fit into the lower pivot bracket on the non-opening side.
Requirements You’ll Need
Devices / Instruments
- Pencil
- Use a wood drill bit along with screwdriver attachments for drilling.
- Hammer
- Measuring tape or ruler
- Extended spirit level
Materials
- Bi-fold door featuring handles and a complete hardware set.
Instructions
Steps for Installing a Bi-Fold Door
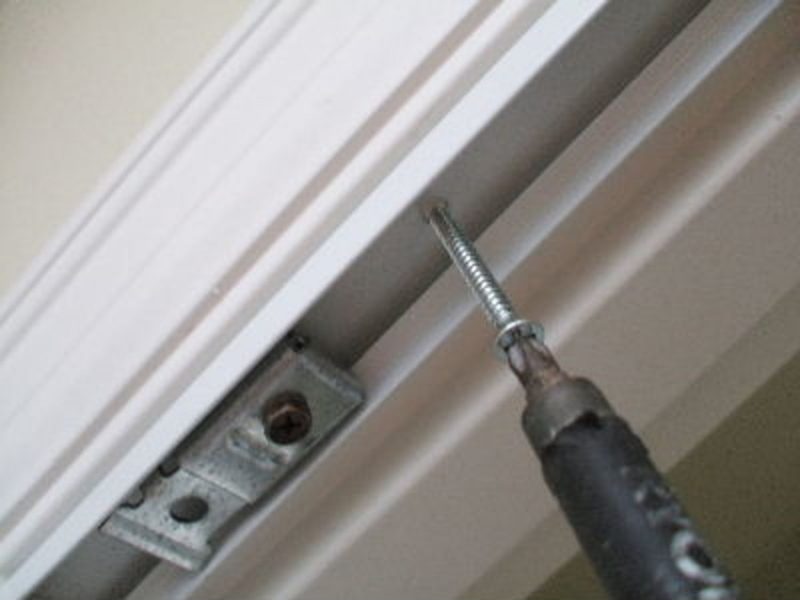
Set up the door rail.
- Draw and indicate a line along the middle of the upper door frame for the track. Utilize a long level to create the line, ensuring that the installation is perfectly straight.
- Insert the pivot guide into the door track, ensuring that the pivot-pin hole is oriented towards the hinged side of the door once the track is in place.
- Place the door track along the upper frame of the door opening and use a pencil to indicate the locations of the mounting screw holes.
- Remove the track and create a pilot hole at each marked location by using a drill equipped with a wood bit that is a bit smaller than the screws intended for mounting.
- Adjust the track’s position and secure it using the mounting screws, employing a drill and a screwdriver bit.
Tip
You have the option to align the track within the frame according to the instructions provided earlier. Alternatively, you can set the track in a way that allows the door to sit a bit recessed within the frame when it is in the closed position.
Position the upper pivot pin into place.
- Position the door upright and rest it against the wall close to the door frame, aligning it as it will be installed.
- Observe the two openings located at the top of the door, with one on each panel. Place the top pivot pin into the hole on the door panel that is positioned on the hinged side of the doorway, which does not open.
- Insert the pin fully into the hole, gently tapping it with a hammer if necessary.
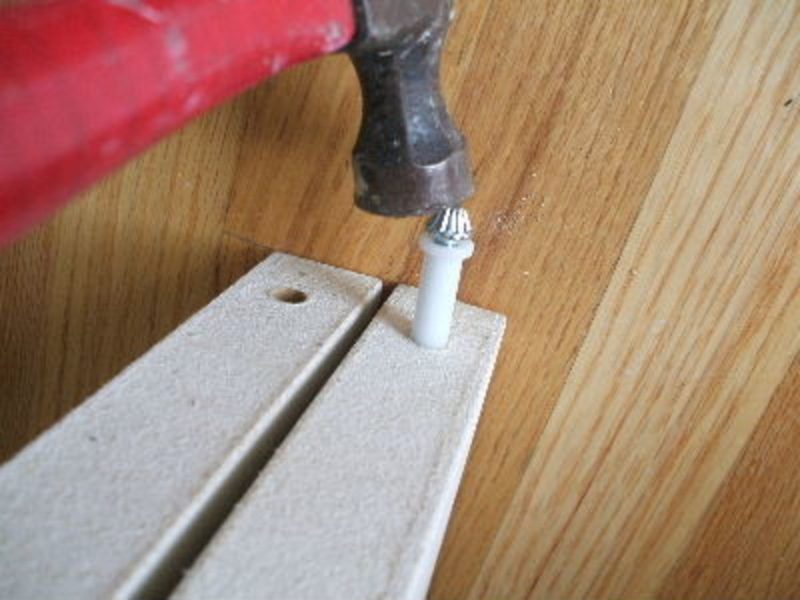
Place the roller pin into position.
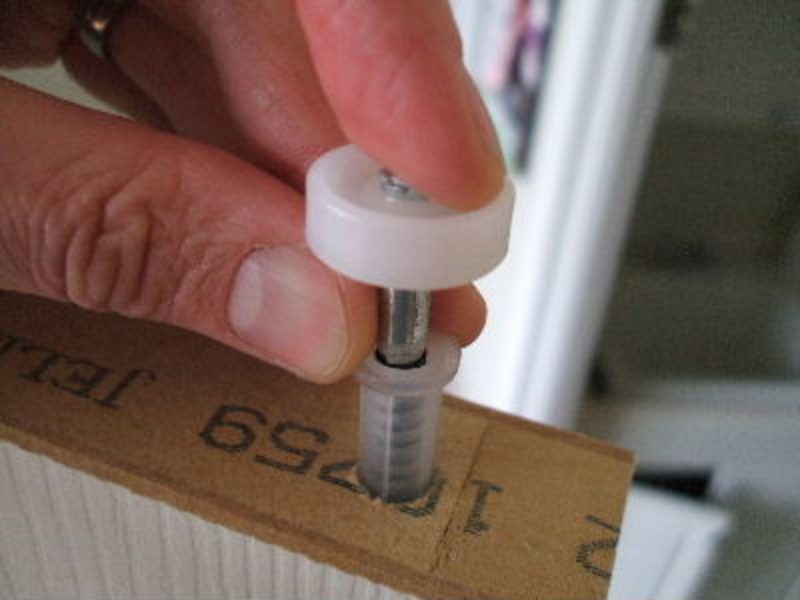
- Insert the roller pin into the opening on the opposite door panel.
- Gently tap it in using a hammer if necessary, but take care not to harm the roller or the internal spring.
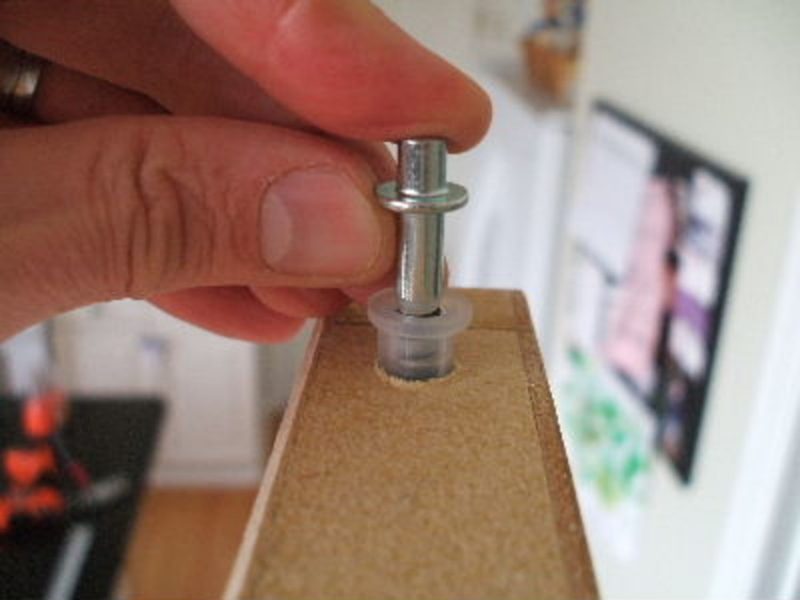
Place the lower pin into position.
- Bend the door in the middle and place it on the ground on its side edges.
- Place the lower pin into the opening on the hinged door panelensure that this pin is aligned with the pivot pin located at the top of the door on the same panel.
- Gently strike it with a hammer to fully secure the pin in place.
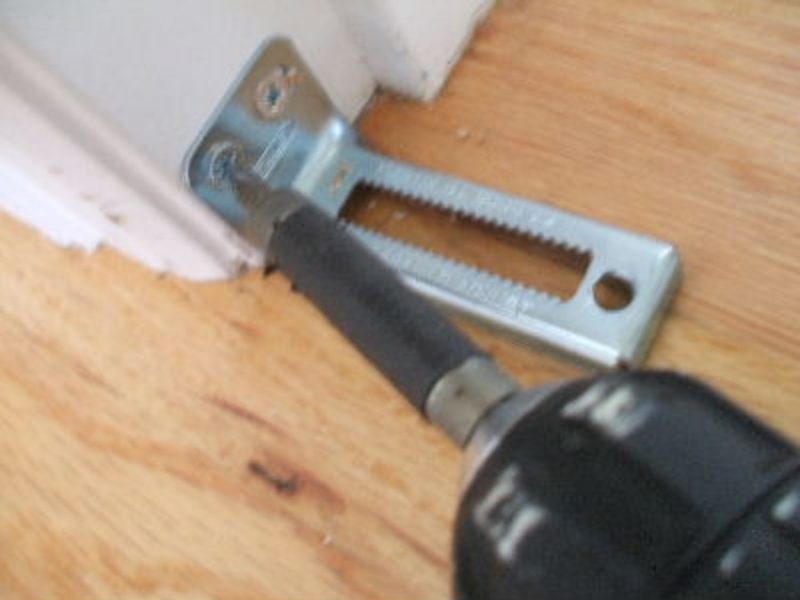
Install the bottom bracket assembly.
- Identify and indicate the appropriate location for attaching the L-shaped bottom bracket to the door frame on the side where the door hinges are located, adhering to the guidelines provided by the manufacturer.
- Utilize a long level and a pencil to draw a vertical line from the upper part of the track down the edges of the door frames for this task. It’s essential for the L-shaped bottom bracket to align properly with the upper track.
- Create pilot holes and secure the bracket using the provided mounting screws.
- Two screws inserted into the side jamb should be adequate, but there is an extra hole in the bracket in case you wish to secure it to the floor for extra stability.
Tip
The midpoint of the bottom bracket must be equidistant from the front edge of the door opening as the midpoint of the top pivot bracket. This alignment guarantees that the door fits correctly within the door frame.
Set up the door stopper.
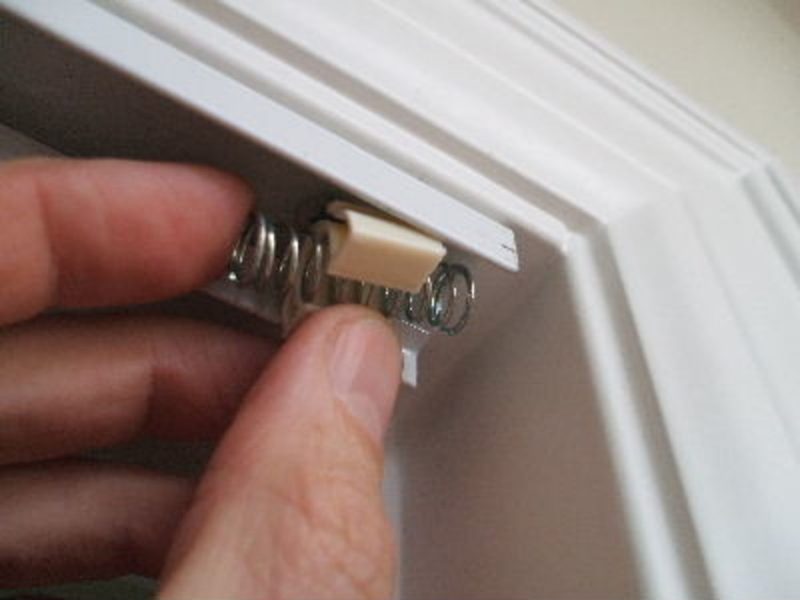
Insert the spring-loaded door stop into the end of the track on the door’s opening side. It should fit securely by hand. Avoid using a hammer, as it may easily break.
Install the Door
- Place the upper pivot pin into the pivot guide located within the track.
- Position the bottom of the door so that the pivot pin aligns with the L-shaped bracket.
- If the door is misaligned between the upper guide and the lower bracket, adjust its height by turning the adjustable pivot located at the bottom of the door, either by raising or lowering it as necessary.
- Examine the space between the door and the hinge-side jambif it appears inconsistent, adjust the location of the bottom pivot pin on its bracket to ensure the door gap is uniform.
- Lift and press down on the spring-loaded wheel located at the top of the door. Position the door so that the wheel is aligned with the track, and then let go of the wheel to allow it to snap into the track.
- Open and close the door to verify that it functions correctly.
Tip
If the door is sticking against the hinge-side jamb, adjust the top and bottom pivot pin guides away from the jamb by the same distance. To adjust the top guide, loosen the screw, shift the guide to the side, and then tighten the screw again.
Install Door Handles
- Determine and indicate the midpoint of each panel where the pull or knob will be installed.
- Create an opening for the installation of the handle or knob.
- Fasten the handle or knob according to the provided guidelines.

