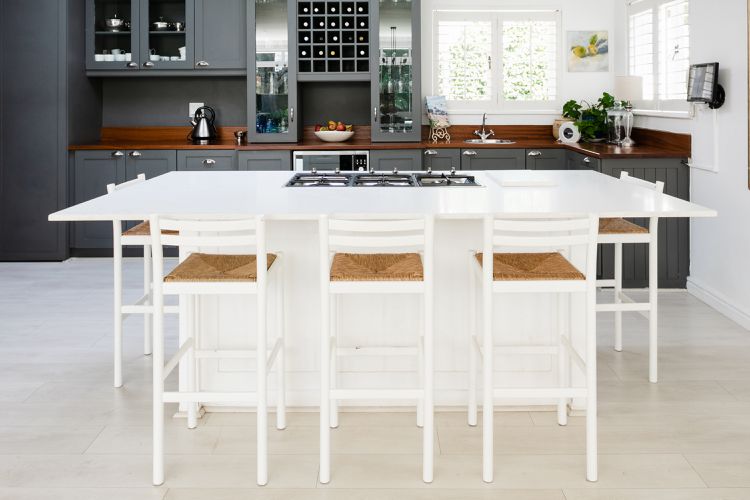
When planning the dimensions of a kitchen island, several factors must be taken into account, such as its dimensions, design, and intended use. An appropriately sized island should not occupy excessive space, disrupt the flow of the kitchen, or dominate the visual appeal of the area. Strategically positioning a cooktop can enhance the cooking experience, and the placement of electrical outlets must comply with regulations. Continue reading for more insights on designing, positioning, and spacing your kitchen island and its associated features.
Contents
- 1 Dimensions and Spacing for Kitchen Islands
- 2 Designing a Sink for a Kitchen Island
- 3 Planning for a Kitchen Island with a Stove and Cooktop
- 4 Planning for Kitchen Island Range Hoods and Ventilation Systems
- 5 Kitchen Island Outlets
- 6 Storage Area for Kitchen Island
- 7 Combining Kitchen Islands with Standalone Kitchen Islands
Tip
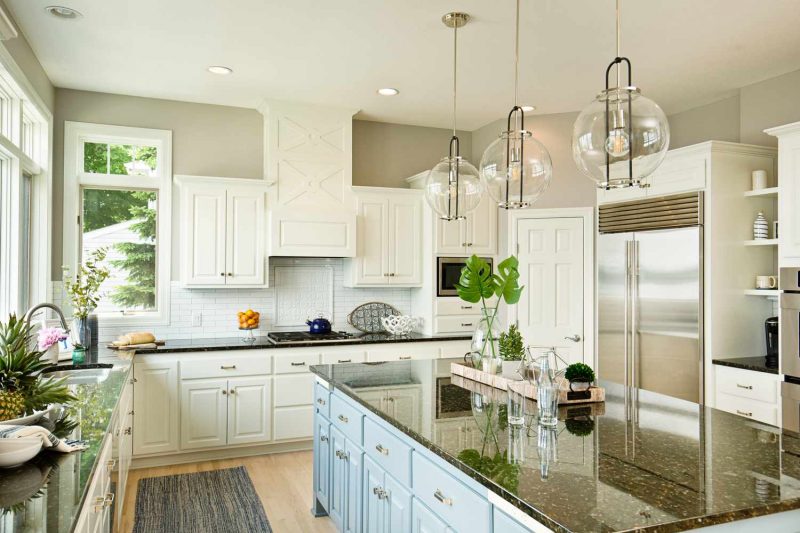
Enhance the visual interest of your kitchen by selecting a unique finish for the island cabinets and choosing a standout countertop for the island.
Dimensions and Spacing for Kitchen Islands
A helpful guideline is to ensure that a kitchen island occupies no more than 10 percent of the kitchen’s overall square footage. If the island exceeds this proportion, it could overwhelm the space, create visual clutter, and hinder easy movement throughout the kitchen.
For instance, consider a kitchen that measures 10 feet by 13 feet, resulting in a total area of 130 square feet. If the kitchen island measures 4 feet in width and 7 feet in length, occupying 28 square feet, it constitutes more than 20 percent of the kitchen’s floor area, making it excessively large. A more suitable option would be to reduce the island’s width to 2 feet while maintaining the length of 7 feet, resulting in a total area of 14 square feet, which would account for approximately 10 percent of the kitchen’s space.
Compact kitchen islands typically have dimensions of approximately 4 feet in length and 2 feet in depth. While this size can be suitable for a smaller kitchen, it may appear out of place and be less functional in a larger area. To test your desired kitchen island dimensions, consider using a small table in the area for a few days. To visualize the size of the future island, you can tape cardboard to the table’s surface and place books under the legs to raise the table, helping you find the most suitable height.
Additional Key Dimensions for Kitchen Islands
Consider these additional key dimensions when designing a kitchen island:
- Ensure a work aisle measuring 42 to 48 inches in width is maintained between the island’s edge and the outer counters to allow for easy movement.
- Typical height: The usual height for a kitchen island is 36 inches. If the island features a raised area for dining or seating, it generally stands at 42 inches.
- Seating space at an island: For optimal comfort, each individual should ideally have around 22 to 24 inches of space to prevent any collisions of knees and elbows. However, if you’re aiming to accommodate three or four stools, each 22 to 24 inches wide, across a 92-inch-long island, it will be a snug fit, but it can be achieved. On a 48-inch-long island, you can easily fit two seats without any issues.
- The standard overhang for island seating is at least 12 inches, providing sufficient space for individuals’ knees when they are seated comfortably.
Tip
Incorporate the kitchen triangle principle when designing your island. The triangle consists of the refrigerator, sink, and cooktop, which should be positioned so that no side measures less than 4 feet or more than 9 feet. This layout is intended to enhance the workflow and optimize the overall efficiency of the kitchen.
Designing a Sink for a Kitchen Island
In a kitchen featuring a main countertop sink, a compact secondary bar sink will be incorporated into the preparation area of a fully equipped kitchen island. Careful planning is essential to ensure the sink is appropriately sized, shaped, and positioned, with proper drainage and sufficient countertop area. Typically, a bar sink ranges from 9 to 18 inches in width, depending on its design. It can be positioned in the center or slightly to the side of the island, but it will need approximately 18 inches to 2 feet of space on one or both sides for preparation and cleaning tasks. Take into account the dimensions of your islandgenerally, a 7-foot-long island provides adequate space for a sink.
The expenses associated with installing a kitchen island sink, regardless of its dimensions, encompass plumbing work. The supply and drainage lines for the sink must be routed beneath the flooring to link with the primary water supply and drainage systems.
Tip
Verify the plumbing and electrical code regulations for installing a sink and stove/cooktop on a kitchen island.
Planning for a Kitchen Island with a Stove and Cooktop
Incorporating a stove or cooktop into the kitchen island enhances your workspace, provides additional burners, and offers a secondary cooking area when the main one is occupied. This design fosters a more sociable environment, particularly when bar stools are placed on one side of the island, allowing guests or family to engage with the cook.
You might choose to position your main cooking space along the edges of the kitchen while utilizing an island cooktop as an additional cooking area. Generally, a kitchen island measuring 9 feet in length can easily accommodate both a sink and a cooktop.
For island cooktops or stoves, it is necessary to run electrical or gas lines from the floor, passing through the crawlspace. In homes constructed on a concrete slab, the concrete will need to be excavated to install the pipes beneath it.
Planning for Kitchen Island Range Hoods and Ventilation Systems
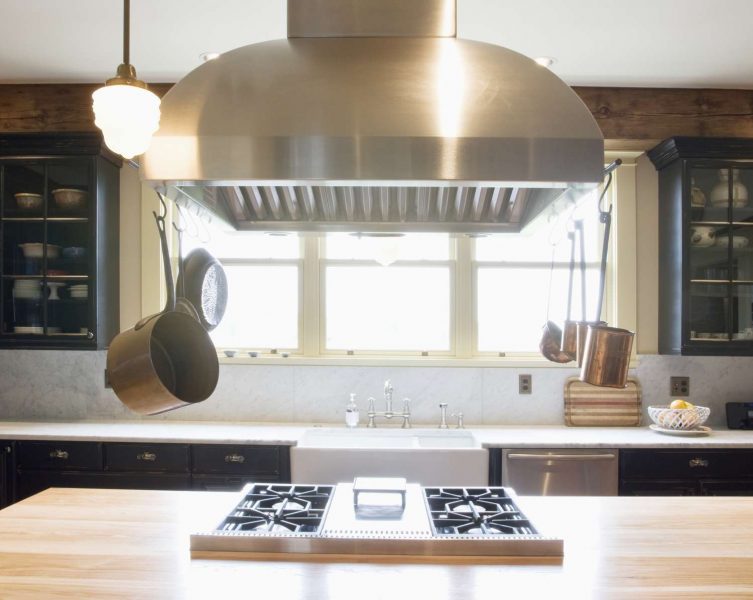
If your main cooking space is situated on the island, it’s essential to install an exhaust fan and hood to expel smoke and cooking smells outdoors, which necessitates access to both venting and electrical connections. Kitchen islands can be vented in an upward or downward direction.
- Vertical venting: The range hood is mounted on the ceiling above the cooktop, with the ducting extending straight out through the roof or the side of the house. This upward venting method is the most effective, although it does mean having the hood and ductwork positioned centrally in the room.
- Downward exhaust: Another option is to direct smoke and odors downward and outside the home via a vent that extends from the cooktop down into the crawlspace. While this method may be visually appealing, it is generally not as efficient as upward exhaust.
Kitchen Island Outlets
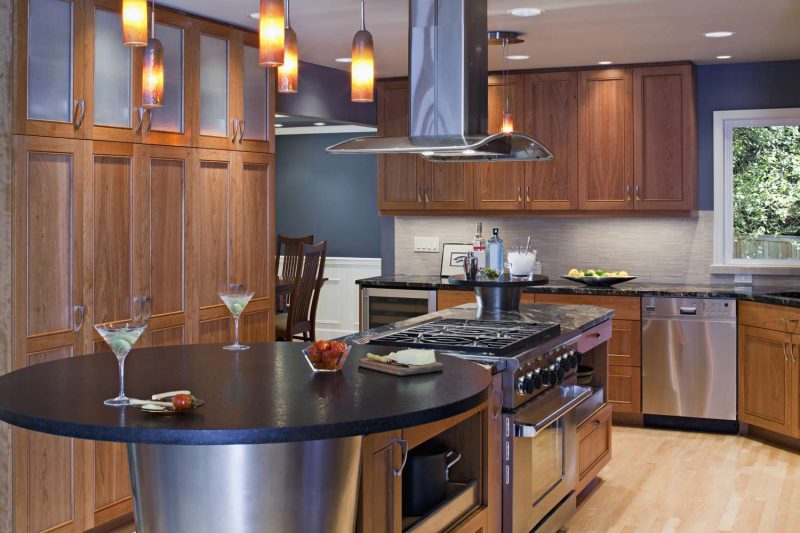
Kitchen islands do not need to have receptacles installed. However, if receptacles are added to kitchen islands, the National Electrical Code (NEC) mandates that every outlet serving the countertop must have GFCI protection.
For every 9 square feet of countertop area, at least one electrical outlet is required, with an additional outlet needed for every 18 square feet beyond that. Therefore, a countertop measuring 45 square feet should include a minimum of three outlets.
Storage Area for Kitchen Island
Kitchen islands offer ample functional storage within their base cabinets. To maximize this storage potential, select base cabinets equipped with drawers, pullouts, sliders, lazy Susans, and shelves. Avoid choosing open, expansive cabinet spaces, as this can lead to disorganization and clutter.
Combining Kitchen Islands with Standalone Kitchen Islands
A standalone rolling or table-style kitchen island offers a convenient and swift way to enhance your kitchen’s preparation or storage capabilities. It provides the extra countertop area you desire and require right away. If you have a fixed island and wish to increase your workspace, you can place a mobile island of the same height alongside it to effectively double your available area.
