Project Summary
- Hours of Operation: 3 to 8 hours
- Overall Duration: 1 to 3 days
- Proficiency Level: Novice
- Projected Expense: $5 to $25
Thoroughly power washing or scrubbing with a cleaner or brightener is a vital part of getting an old wooden deck ready for refinishing. However, this process can lead to the wood fibers in the deck, steps, and railings swelling and lifting as they absorb water. After the deck dries, these fibers may stay raised, increasing the risk of splinters. Therefore, it is important to lightly sand the wood deck before applying any stain or sealant. This important step will help achieve excellent results in your refinishing project.

Contents
Prior to Starting
Adhere to the suggested preparation procedures for the finishing product you intend to apply. In certain situations, this may require the initial application of a chemical brightener or cleaner to wood that has aged and turned gray, or to wood that has dark tannin stains. Typically, this brightening or cleaning process is succeeded by a thorough rinse with clean water. Once the deck has dried, it is essential to sand the surface to eliminate any fuzzy wood fibers.
This method is typically suggested for older cedar or redwood, while it may not be necessary for pressure-treated pine or for newly cut cedar or redwood. For fresh wood, manufacturers often advise a straightforward sanding process, which should be followed by the prompt application of a stain or sealer.
Deck sanding can be accomplished with various types of power sanders, ranging from typical handheld orbital sanders to larger upright models available for rent at home improvement stores. Each of these options can effectively sand your deck when used correctly. Many homeowners successfully use a standard handheld power sander, but it’s important to be patient, particularly when dealing with a larger deck that might require several days of effort.
Keep in mind that the types of wood commonly utilized for decks are generally softwoods. When it comes to sanding, belt sanders, whether they are handheld or larger stationary versions, often leave marks on softwoods. Therefore, opting for an oscillating or random orbit sander is typically the more effective option.
Ensure that your deck is completely dry prior to sanding. If it has rained recently or if you have used a power washer, allow a few days to pass before you begin. Approach the sanding of the deck surface, railings, and board edges as separate tasks, and adjust your sanding methods accordingly for each area.
Safety Precautions
Always use a particle mask and safety goggles when sanding, since inhaling wood dust can be harmful to your health. Additionally, wearing knee pads and hearing protection can enhance your safety and comfort during the task. While brief exposure to wood dust is unlikely to lead to the same cancer risks as those encountered by industrial workers, it can still trigger allergic reactions or respiratory issues, including asthma attacks. This risk is particularly heightened when dealing with dust from red cedar.
Requirements
Devices / Instruments
- Spatula (if necessary)
- Pressure washer (if necessary)
- Cleaning brush
- Bucket
- Power screwdriver (if necessary)
- Respiratory protection
- Vision safety equipment
- Optional knee protection pads
- Vibrating or random orbit sander
- Finishing sander (if required)
- Wet/dry vacuum cleaner
Materials
- Deck rejuvenator (if necessary)
- Wood putty (if necessary)
- Screws for decking (if required)
- Coarse sandpaper (60 or 80 grit)
- Fresh fabric pieces
- Tack rags
Instructions

Clean the Timber

Clean the entire deck according to the instructions provided by the manufacturer of the stain or sealer. When using a power washer, ensure that the spray setting is gentle enough to avoid harming the wood. If you are using a scrub brush with a brightener or cleaner, be sure to rinse the deck well to eliminate any remnants of oxalic acid or other chemicals present in the cleaner.
Tip
When utilizing a chemical cleaner, it’s important to protect the surrounding landscape plants near the deck, since oxalic acid and various other substances can be quite damaging to living vegetation.
Examine and Fix the Surfaces
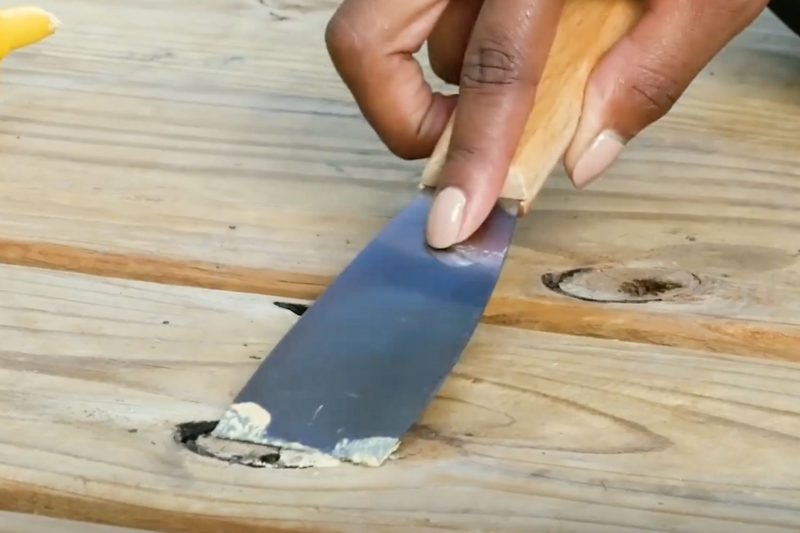
Begin by thoroughly examining all surfaces that require sanding, including the decking, edges, stairs, and railings. Ensure that all fasteners are sunk below the wood’s surface. You may need to remove and replace some very old screws. Tighten any screws that may have slightly risen over time, as they can snag on the sander and lead to the need for new sandpaper. If any boards are loose, now is the time to secure them with new fasteners. Address any splinters or deep gouges in the wood by filling or repairing them prior to sanding. If you are using wood fillers, ensure they are completely dry and hardened before proceeding with the sanding process.
Smooth the Surface of the Decking
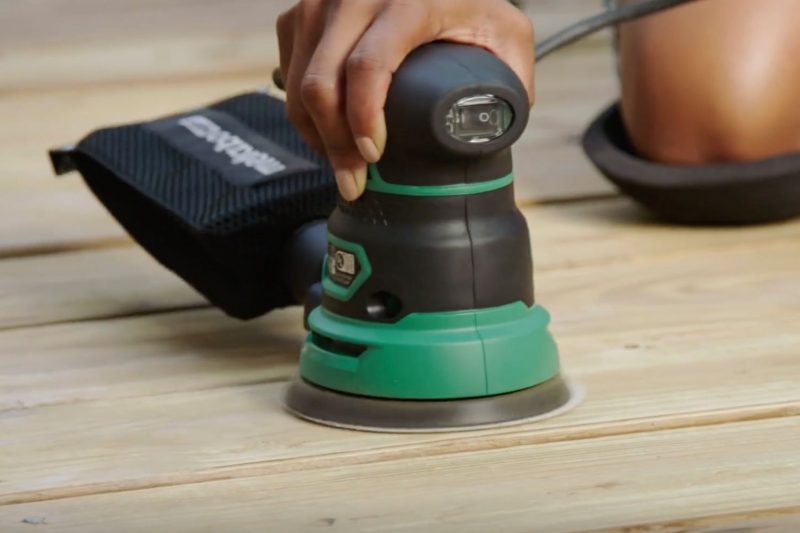
Attach sandpaper with a grit of 60 to 80 to your power sander. The aim is not to achieve a perfectly smooth finish, so steer clear of finer grits, as they can clog the wood’s pores, hindering the absorption of stains and sealers. Sand all sections of the decking, applying moderate pressure with the sander. Continuously check for a uniform appearance. Resist the urge to achieve a glass-like smoothnesscedar, redwood, and pressure-treated pine are softer woods that can be easily damaged if excessive pressure is applied. Use the same method to sand the top of the stair treads. Once you are done, make sure to thoroughly vacuum the decking and stair treads with a shop vacuum.
Smooth the edges of the board.
Sanding the outer edges of the deck boards can be challenging, particularly when the railings feature a low bottom baluster rail that restricts access. In this case, a compact detail sander can be beneficial if a regular orbital sander is too large. It’s important to use sandpaper with a grit of 60 to 80 for the end grain of the decking boards, ensuring that the sanding is as uniform as possible. This is crucial, as uneven sanding can lead to inconsistent absorption of stains. After sanding, be sure to vacuum the edges of the boards and wipe away any dust.
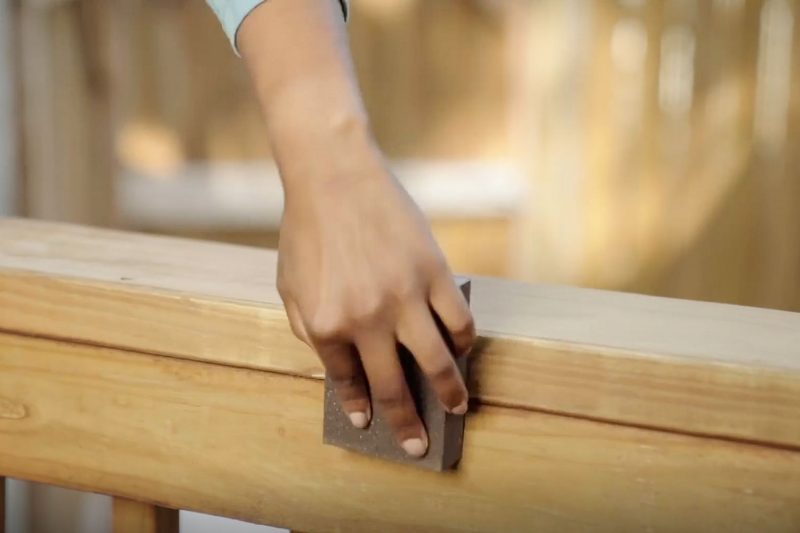
Smooth the Railings
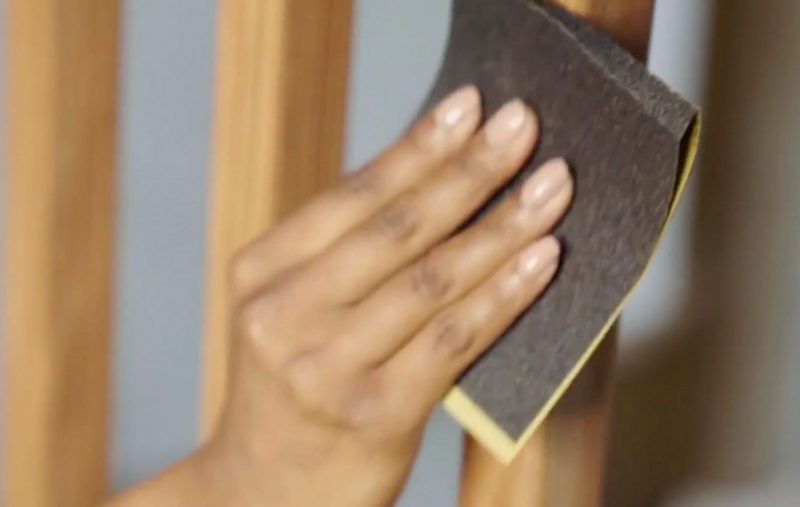
Sanding the deck railing is crucial as it is the most prominent feature that draws the eye. Moreover, ensuring the handrail is smooth is essential to prevent splinters that could cause hand injuries. For railings, it is advisable to use sandpaper with a grit of 80 to 100, making sure to sand every surface and nook. A detail sander or hand sanding may be required to reach all areas, but be careful not to sand it to a level that would hinder the absorption of the stain. After sanding, be sure to vacuum the railings thoroughly.
Clean the entire deck using a vacuum.
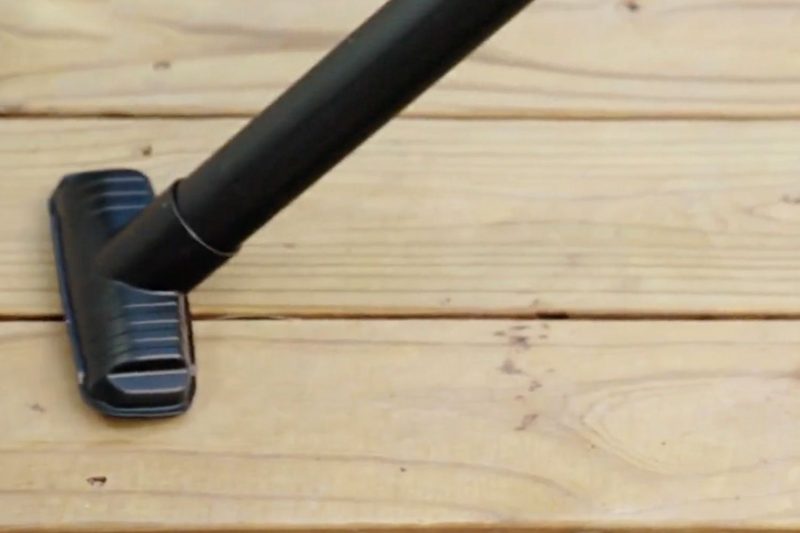
Utilize a shop vacuum to thoroughly clean the entire deck again, and then employ tack cloths to eliminate any lingering dust particles from the surfaces. Focus particularly on the corners and crevices. Your deck is now prepared for the staining or sealing process. It is essential to complete this task right after sanding, to prevent the wood from becoming weathered or dirty. If a delay is unavoidable before finishing, ensure to vacuum and clean the deck with tack cloths again before applying the stain or sealer.

